Step-by-Step Recipe
Preparing the Cookie Layer
Begin by creating the base for your Brookies:
- Preheat your oven to 350 degrees F (175 degrees C). Grease your 9×13-inch baking dish.
- In a large mixing bowl, beat the softened butter, brown sugar, and granulated sugar together with an electric mixer until creamy and well combined.
- Add the egg and vanilla extract to the mixture and continue to beat until the mixture is light and fluffy.
- Mix the salt, baking soda, and flour in a separate basin. Gradually add this to the creamed mixture, mixing until just incorporated.
- Fold in the chocolate chips, then spread the cookie dough evenly in the prepared baking dish. Set aside as you prepare the brownie layer.
Preparing the Brownie Layer
Now, layer on the chocolatey goodness:
- In another mixing bowl, combine the melted butter and white sugar. Beat in the eggs one at a time, then stir in the vanilla.
- Mix the flour, baking powder, cocoa powder, and salt in a sieve. Gradually mix these dry ingredients into the wet mixture until the batter is smooth.
- Pour the brownie batter over the cookie dough layer, using a spatula to gently spread it, covering the cookie dough completely.
Baking and Assembly
With both layers prepared, it’s time to bake:
- Place the baking dish in the preheated oven and bake for 25-30 minutes, or until a toothpick inserted into the center comes out clean.
- Once baked, remove the dish from the oven and allow the Brookies to cool in the pan on a cooling rack for at least 10 minutes.
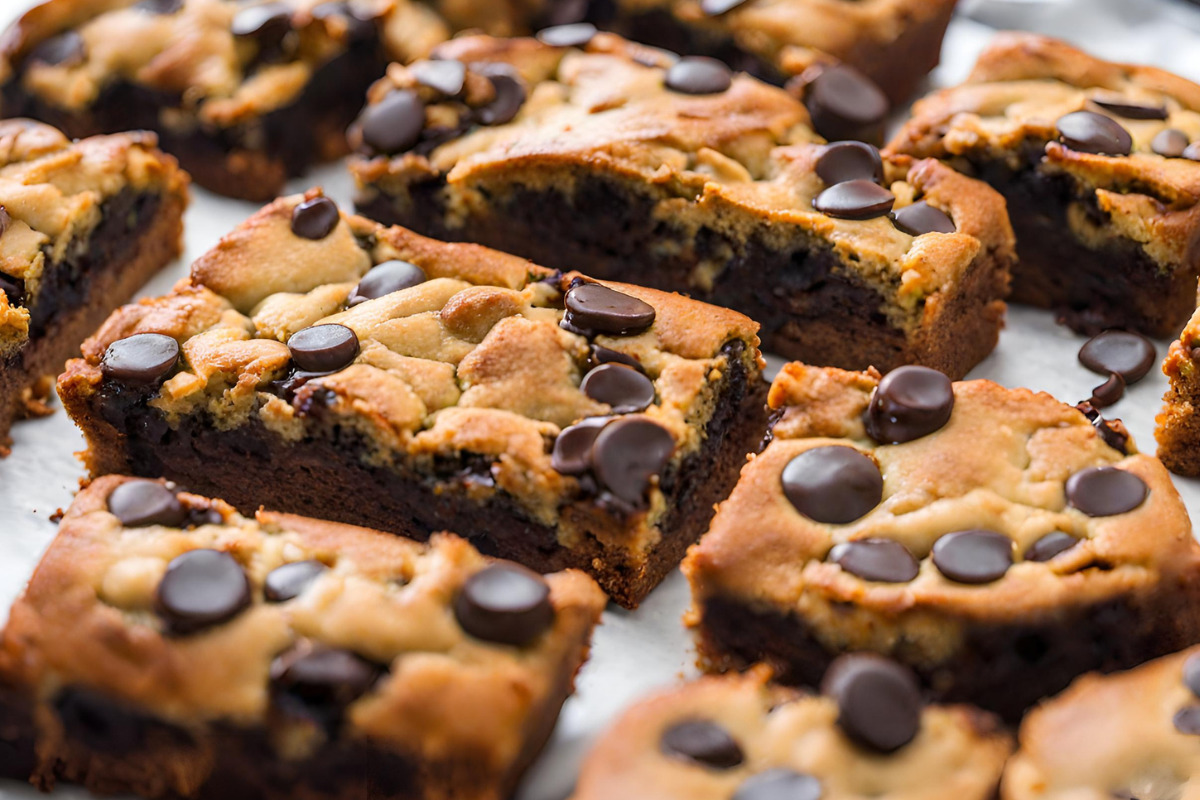
- After cooling, cut into squares or bars as desired.
Baking the perfect Brookie combines the gooey, rich texture of brownies with the crispy, chewy edges of cookies, creating a treat that’s irresistible. In the next section, we’ll share tips and tricks to elevate your Brookie recipe baking experience, ensuring every batch is as perfect as can be.
Tips and Tricks
Optimizing Ingredients
For the best Brookie results, consider these tips on selecting and using ingredients:
- Butter: Use high-quality unsalted butter for better control over the saltiness in both layers.
- Flour: Sift the flour before measuring to avoid dense layers. Proper measuring is crucial—spoon the flour into the measuring cup and level it off without packing.
- Eggs: Room temperature eggs mix more evenly, helping create a smoother batter.
Baking Tips
Achieve the perfect bake with these handy hints:
- Oven Calibration: Ensure your oven temperature is accurate with an oven thermometer. Even a slight variation can affect baking times.
- Layering: Carefully spread the brownie batter over the cookie dough to avoid mixing the layers, which could affect the texture and appearance.
- Testing Doneness: Insert a toothpick slightly off-center; it should come out with a few moist crumbs but not wet batter.
Storage Tips
Keep your Brookies fresh and delicious with these storage guidelines:
- Cool Completely: Allow the Brookies to cool completely before storing to prevent condensation that could make them soggy.
- Airtight Container: Store in an airtight container at room temperature. For added moisture retention, place a piece of bread in the container with the brookies; the bread absorbs excess air and keeps them moist.
- Freezing: For longer storage, freeze the brookies in a single layer before transferring to a freezer bag. Thaw at room temperature when ready to enjoy.
Implementing these tips will help ensure that your Brookies are not only delicious but also beautifully presented and well-preserved. Next, we will explore various ways to add a twist to your traditional Brookie recipe, including suggestions for customizations and dietary adaptations.
Variations of the Recipe
Adding Nuts or Toppings
Enhance the texture and flavor of your Brookies with these additions:
- Nuts: Sprinkle chopped walnuts or pecans between the layers for a crunchy texture. This addition introduces a nutty flavor that complements the chocolatey richness.
- Toppings: Before baking, add a layer of mini marshmallows, caramel bits, or a drizzle of peanut butter over the brownie batter for an extra layer of decadence.
Vegan and Gluten-Free Alternatives
Adapt the Brookie Recipe to meet dietary restrictions without compromising on taste:
- Vegan: Substitute the butter with coconut oil or vegan butter, and use flax eggs (1 tablespoon ground flaxseed mixed with 3 tablespoons water per egg) instead of regular eggs.
- Gluten-Free: Replace the all-purpose flour with a gluten-free flour blend designed for baking. Ensure that all other ingredients, such as baking powder and chocolate chips, are certified gluten-free.
Flavor Variations
Experiment with different flavors to keep your Brookies exciting:
- Mint Chocolate: Add a few drops of mint extract to the brownie batter and use mint chocolate chips in the cookie layer.
- Mocha: Enhance the brownie layer by dissolving 1 tablespoon of instant coffee in the melted butter before mixing.
These variations allow you to personalize the Brookie experience, making each batch special and tailored to different tastes and occasions. Next, we’ll address some frequently asked questions to help clarify any doubts and provide additional tips for perfecting your Brookie recipe baking skills.
Presentation and Serving Suggestions
Creative Presentation Ideas
Make your Brookies stand out with these stylish presentation tips:
- Stacking: Arrange your Brookies in a staggered stack on a serving plate for a visually appealing display.
- Dusting: A light dusting of powdered sugar or cocoa powder before serving can add an elegant touch and enhance the flavor.
- Garnish: Add a fresh garnish like mint leaves or a raspberry atop each Brookie for a pop of color and freshness.
Serving Suggestions
Elevate the way you serve Brookies with these delicious combinations:
- Ice Cream Pairing: Serve a warm Brookie with a scoop of vanilla ice cream. The contrast between the warm, chocolatey dessert and the cool, creamy ice cream is irresistible.
- Coffee or Tea: Brookies pair wonderfully with coffee or tea. Serve them as part of a relaxed afternoon tea or coffee break for a comforting treat.
- Dessert Wine: For a sophisticated twist, pair your Brookies with a dessert wine like Port or a sweet Riesling. The rich flavors of the dessert wine complement the chocolatey depth of the Brookies beautifully.
Special Occasions
Brookies are versatile enough for various events:
- Birthday Parties: Customize Brookies with birthday messages or use themed cookie cutters for special shapes.
- Holiday Gatherings: Add seasonal spices or decorations to fit holiday themes, making your Brookies a festive highlight.
- Gift Giving: Package your Brookies in decorative boxes or tins as thoughtful homemade gifts for friends and family.
Incorporating these presentation and serving ideas can turn simple Brookies into a memorable part of any meal or special occasion, ensuring they’re not only delicious but also a feast for the eyes.
FAQs
Can I use store-bought dough for the cookie layer?
Absolutely! For a quicker alternative, you can use pre-made chocolate chip cookie dough. Just ensure it’s spread evenly in the pan before adding the brownie batter.
How do I know if my Brookies are done baking?
The best way to check is by inserting a toothpick into the center. If it comes out with a few moist crumbs but no wet batter, your Brookies are ready. Be careful not to overbake, as this could dry out the edges.
Can Brookies be made in advance?
Yes, Brookies are an excellent choice for make-ahead treats. Bake them a day in advance, and store them in an airtight container. This can actually enhance their flavors and textures as they meld together overnight.
Do Brookies need to be refrigerated?
It’s not necessary to refrigerate Brookies unless they contain a perishable filling or topping. They keep well at room temperature in an airtight container for up to 4 days.
How can I make my Brookies chewier?
For chewier Brookies, try underbaking them slightly. Remove them from the oven when the edges are set but the center is still a bit soft. They will firm up as they cool but retain a gooey, chewy texture.
Can you freeze Brookies?
Yes, Brookies freeze exceptionally well. Once cooled, slice them and store in a single layer in an airtight container or freezer bag. They can be enjoyed for up to 3 months. Thaw at room temperature or warm slightly in the microwave for a fresh-baked taste.
With these questions addressed, you’re well on your way to becoming a Brookie baking expert. Wrapping up our guide, we’ll summarize the key points and encourage you to start baking!
Conclusion
Congratulations on reaching the end of your Brookie baking journey! By now, you have all the tools and knowledge needed to create this fantastic dessert that perfectly combines the gooeyness of brownies with the crisp edges of cookies. Whether you stick to the classic recipe or experiment with variations like adding nuts, going gluten-free, or trying different flavors, each batch of Brookies promises to be a delightful treat.
Remember, the joy of baking lies not only in the delicious results but also in the process itself. From measuring ingredients to watching your creations bake to perfection, each step offers its own satisfaction. We hope this guide inspires you to explore the world of baking and share your delicious Brookies with friends and family.
Don’t forget to have fun and let your culinary creativity shine through each batch of Brookies. Happy baking!